How to jump on a mountain bike
Forget Red Bull, let us give you wings.
Chocks away! For this skills lesson we focus on learning how to jump on a mountain bike and how to maintain a safe cruising altitude.
>>> Check out all our Skills tutorials
Olly Wilkins is a dirt jump pro rider for DMR and in the video above he teaches you how to jump on a mountain bike confidently and safely.

Dirt School’s Andy Barlow is here to help you
For a more in-depth lesson let’s hand over to Andy Barlow from Dirt School. Over to you Andy…
Everyone likes the idea of jumping their mountain bike with stye and ease. So why is it so hard for the reality to live up to your expectations? At Dirt School we tend to find that as a rider looks at attempting a bigger jump, or wanting to throw in a bit of stye, they think that they have to try harder or go faster. This isn’t really the case, and in our experience the biggest breakthrough is always when a rider realises that it’s about mastering a much slower, more powerful movement that gives you stability and control through consistency. Once you master the art of controlling the heavy part you’ll be amazed by how much easier it actually is go bigger and have more control.
We’re going to talk you through how to make the heavy push that should happen on a jump last a lot longer. That’s the secret to enjoying a lot more time in the air. It’s not about pedalling in as fast as you can and pulling on the handlebars. Stop thinking that you have to try harder, and start thinking about strength, consistency and control as you go through your take off.
The example that we tend to use at Dirt School is a skier carving a long drawn out turn. As the skier gradually carves over twenty or thirty meters, they’ll feel like they’re being pushed in to the turn because the ground is effectively pushing back at them. This is the heavy feeling that people talk about. If you were to watch that same skier it may look like they’re not doing anything, but ask them where they pushed and they’d say that they’d pushed through the whole turn. This is because as they change direction and the ground pushes back towards them, they have to use their legs to support that extra weight. They’re not pushing in one place. They’re gradually spreading it out over twenty or thirty meters.
The secret to jumping smoothly is to make the heavy part of the jump last longer. Don’t fall in to the trap that most riders do and push too early. A really good way of checking how you jump is to get a friend to film you. Where are you taking off? Right at the top? Or further down the jump? Most riders push quickly as the shape of the trail changes and they have nothing left towards the top. This is why the legs then fade out and they absorb a lot of the take off by pulling up to get their wheels off the ground. If your push happens fast, then every now and then you’ll do it in the right place and have a successful, smooth jump, but it’s not always easy to pinpoint exactly why it worked. Deliver your push slower and make the whole shape of the jump work for you, and you’ll be able to make the heavy part of the jump last longer – like the skier carving the turn, so that from the outside it doesn’t look like you’re doing anything, but if anyone asks you where you’re pushing you’ll say, “Through the whole thing”.

Slowing your effort down and staying stronger for longer allows you more time to generate stability
This is one of the most common misconceptions in mountain biking. It’s right up there with “keep your weight back” or “drop your outside foot”, and it’s going to take some explaining. It’s basically an oversimplification of something much larger that get misunderstood when riders aren’t seeing the bigger picture.

Pushing quickly and too early leaves you with no other option than to lift your bike off the ground
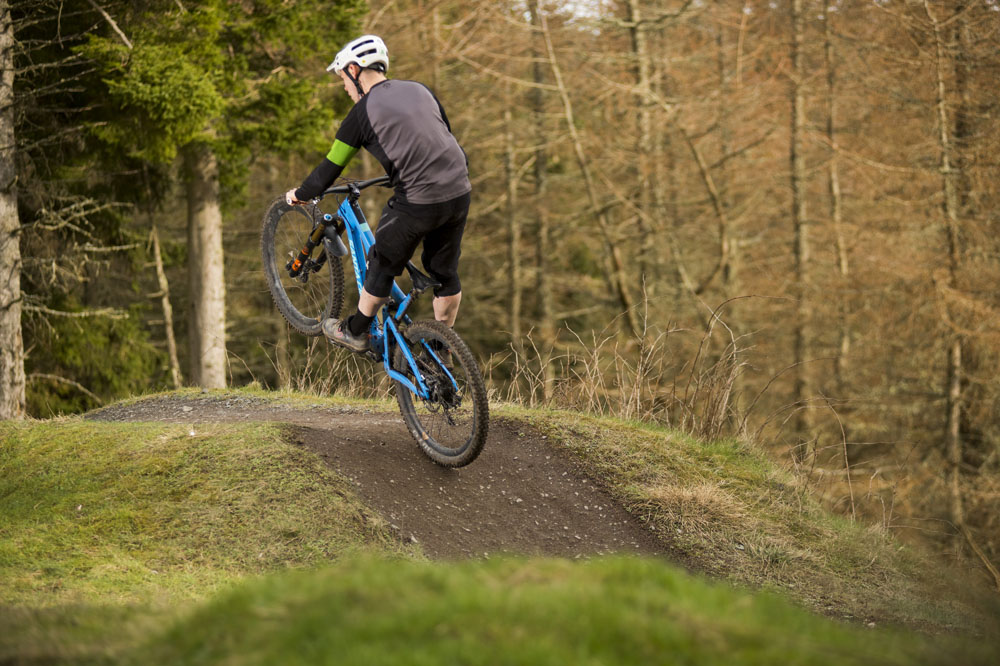
Yes, you do pull on the bars, but that’s not all. The biggest part of jumping is pushing with your legs. When you’re front wheel leaves the ground you still want to be driving yourself upwards through straightening your legs. This means that your wheel has the potential to just drop or dip at that moment when you’re leaving the lip. If you allow the front to drop, and back off with your push through your legs, then you’ll feel like your back wheel is being flicked up and you’re going over the bars. Instead you should be strong in your arms and drive through your legs – right off the top! This will give you the controlled ‘pop’ that more experienced riders describe

Think of the first part of the jump squashing you in to the trail. You should already be low and ready to start the straightening of your legs, but all you really need to do here is be strong enough that you don’t collapse. As the jump goes on though, you want to start pushing more and more so that you are at your straightest right off the top. Your front wheel should have already left the lip and be airborne and you’re still going strong through your legs. This will mean that the heavy part of the jump has lasted the whole way through.
As jumps get bigger and bigger you’re still trying to do all the same things in all the same places, so you’re going to have to slow down what you’re doing to make it last longer. A lot of our clients start to feel that this actually becomes easier as the jumps get bigger, and if you’re pal is still filming you at this stage then you’ll notice that your movements are becoming less and less obvious. You should be gradually straightening your legs as you change go up the jump and almost be in your perfect neutral riding position with your elbows bent and your legs straight while you’re in the air.

Once you slow your jumping technique down and it feels like you have time to generate control, you’ll have no problem turning slightly as well. Just treat it like any other corner – look where you want to go, lean in slightly, and make smooth shapes and lines
Download the Dirt School app for your phone and start watching the examples. It’s not like YouTube where you can zone out, it’s more like reading one of these articles. You’re going to have to pay attention and think about it. Read the explanations and upload footage of yourself so you can compare yourself to the correct and incorrect examples.
Download the Dirt School app for free: Google Play | iTunes App
Taking time to think about your technique is the cheapest and most effective way to improving how you ride. A shiny new bike might be a head turner, but feeling like you’ve got more control will lead to having more confidence and improve your riding no end. Stick with it and you’ll be amazing yourself as to how far you come.

The bunny Hop is more about how you push away from the ground and less about lifting your bike up. Learning how to jump and bunny hop go hand in hand and once you master one the other will fall in to place
Have a friend film you doing a bunny hop and look how much of your hop is generated by push, and how much is generated by pulling in the air. For most riders this is about 50/50. You really want to turn your hop in to 80/20, or 90/10. 90% of your effort should be pushing away from the ground, while 10% of your effort is pulling in the air. If you can make your hops have more push and less pull, this will revolutionise how you think about getting airborne.
>>> 14 Best mountain biking apps for iPhone and Android

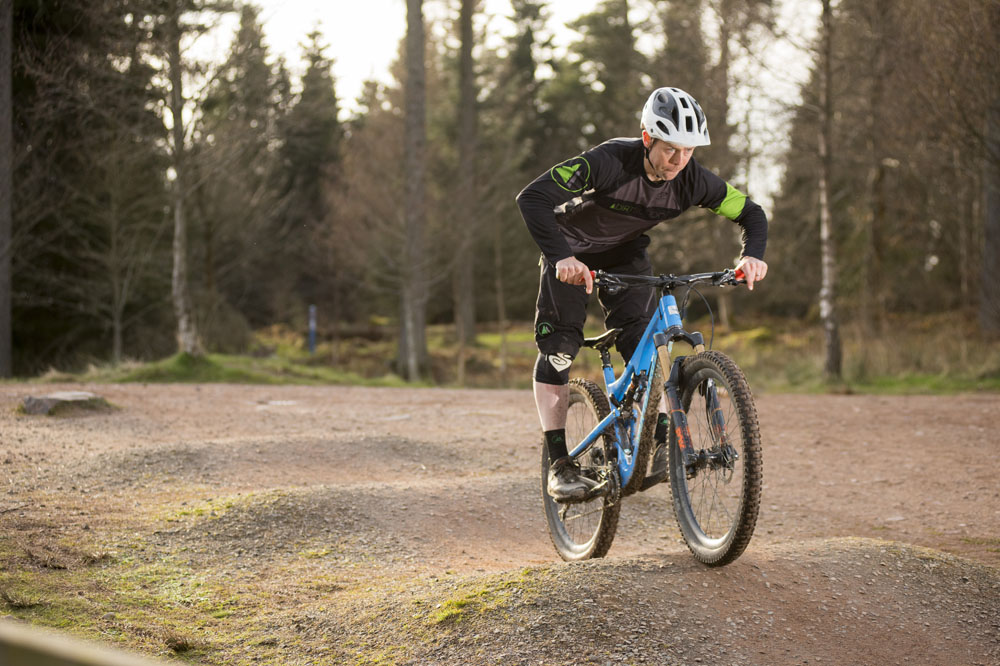
Andy has driven his legs in to the lowest part of the trail here so that is makes him heavy and stronger through the change of direction. This will not only build momentum through pumping, but also give him stability by allowing him control over his weight
Pump Tracks are becoming more and more common and they’re a brilliant way of mastering the timing and effects of pushing with your legs. Remember that in order to open up all of this control and timing, that you’re going to have to get a lot closer to the bike with your legs and your elbows bent. You’re not trying to absorb the raised parts. You’re trying to generate a steady push through all the heavy parts. Going heavy by pushing with your legs will mean that you feel like you’re using the change of direction at the lowest part of a pump track to actually generate stability. This is the heavy ‘whoosh’ that you hear as good riders pump.
Words: Andy Barlow | Pics: Andy McCandlish