Andy Barlow from Dirt School takes those essential mountian bike tips that make for a smooth ride, and translates them across to electric mountain bikes, explaining the tweaks that make them work
Whether you’re new to e-bikes or you’ve been riding them since the year dot, getting the best skills advice on how to handle that extra weight is vital. Sure, there’s plenty of crossover and bulk of your mountain bike skills will transfer over nicely to the best electric mountain bikes. But this article takes that experience and focuses it on some key differences that will allow you to get the most out of your e-bike platform.
Let the weight do the work
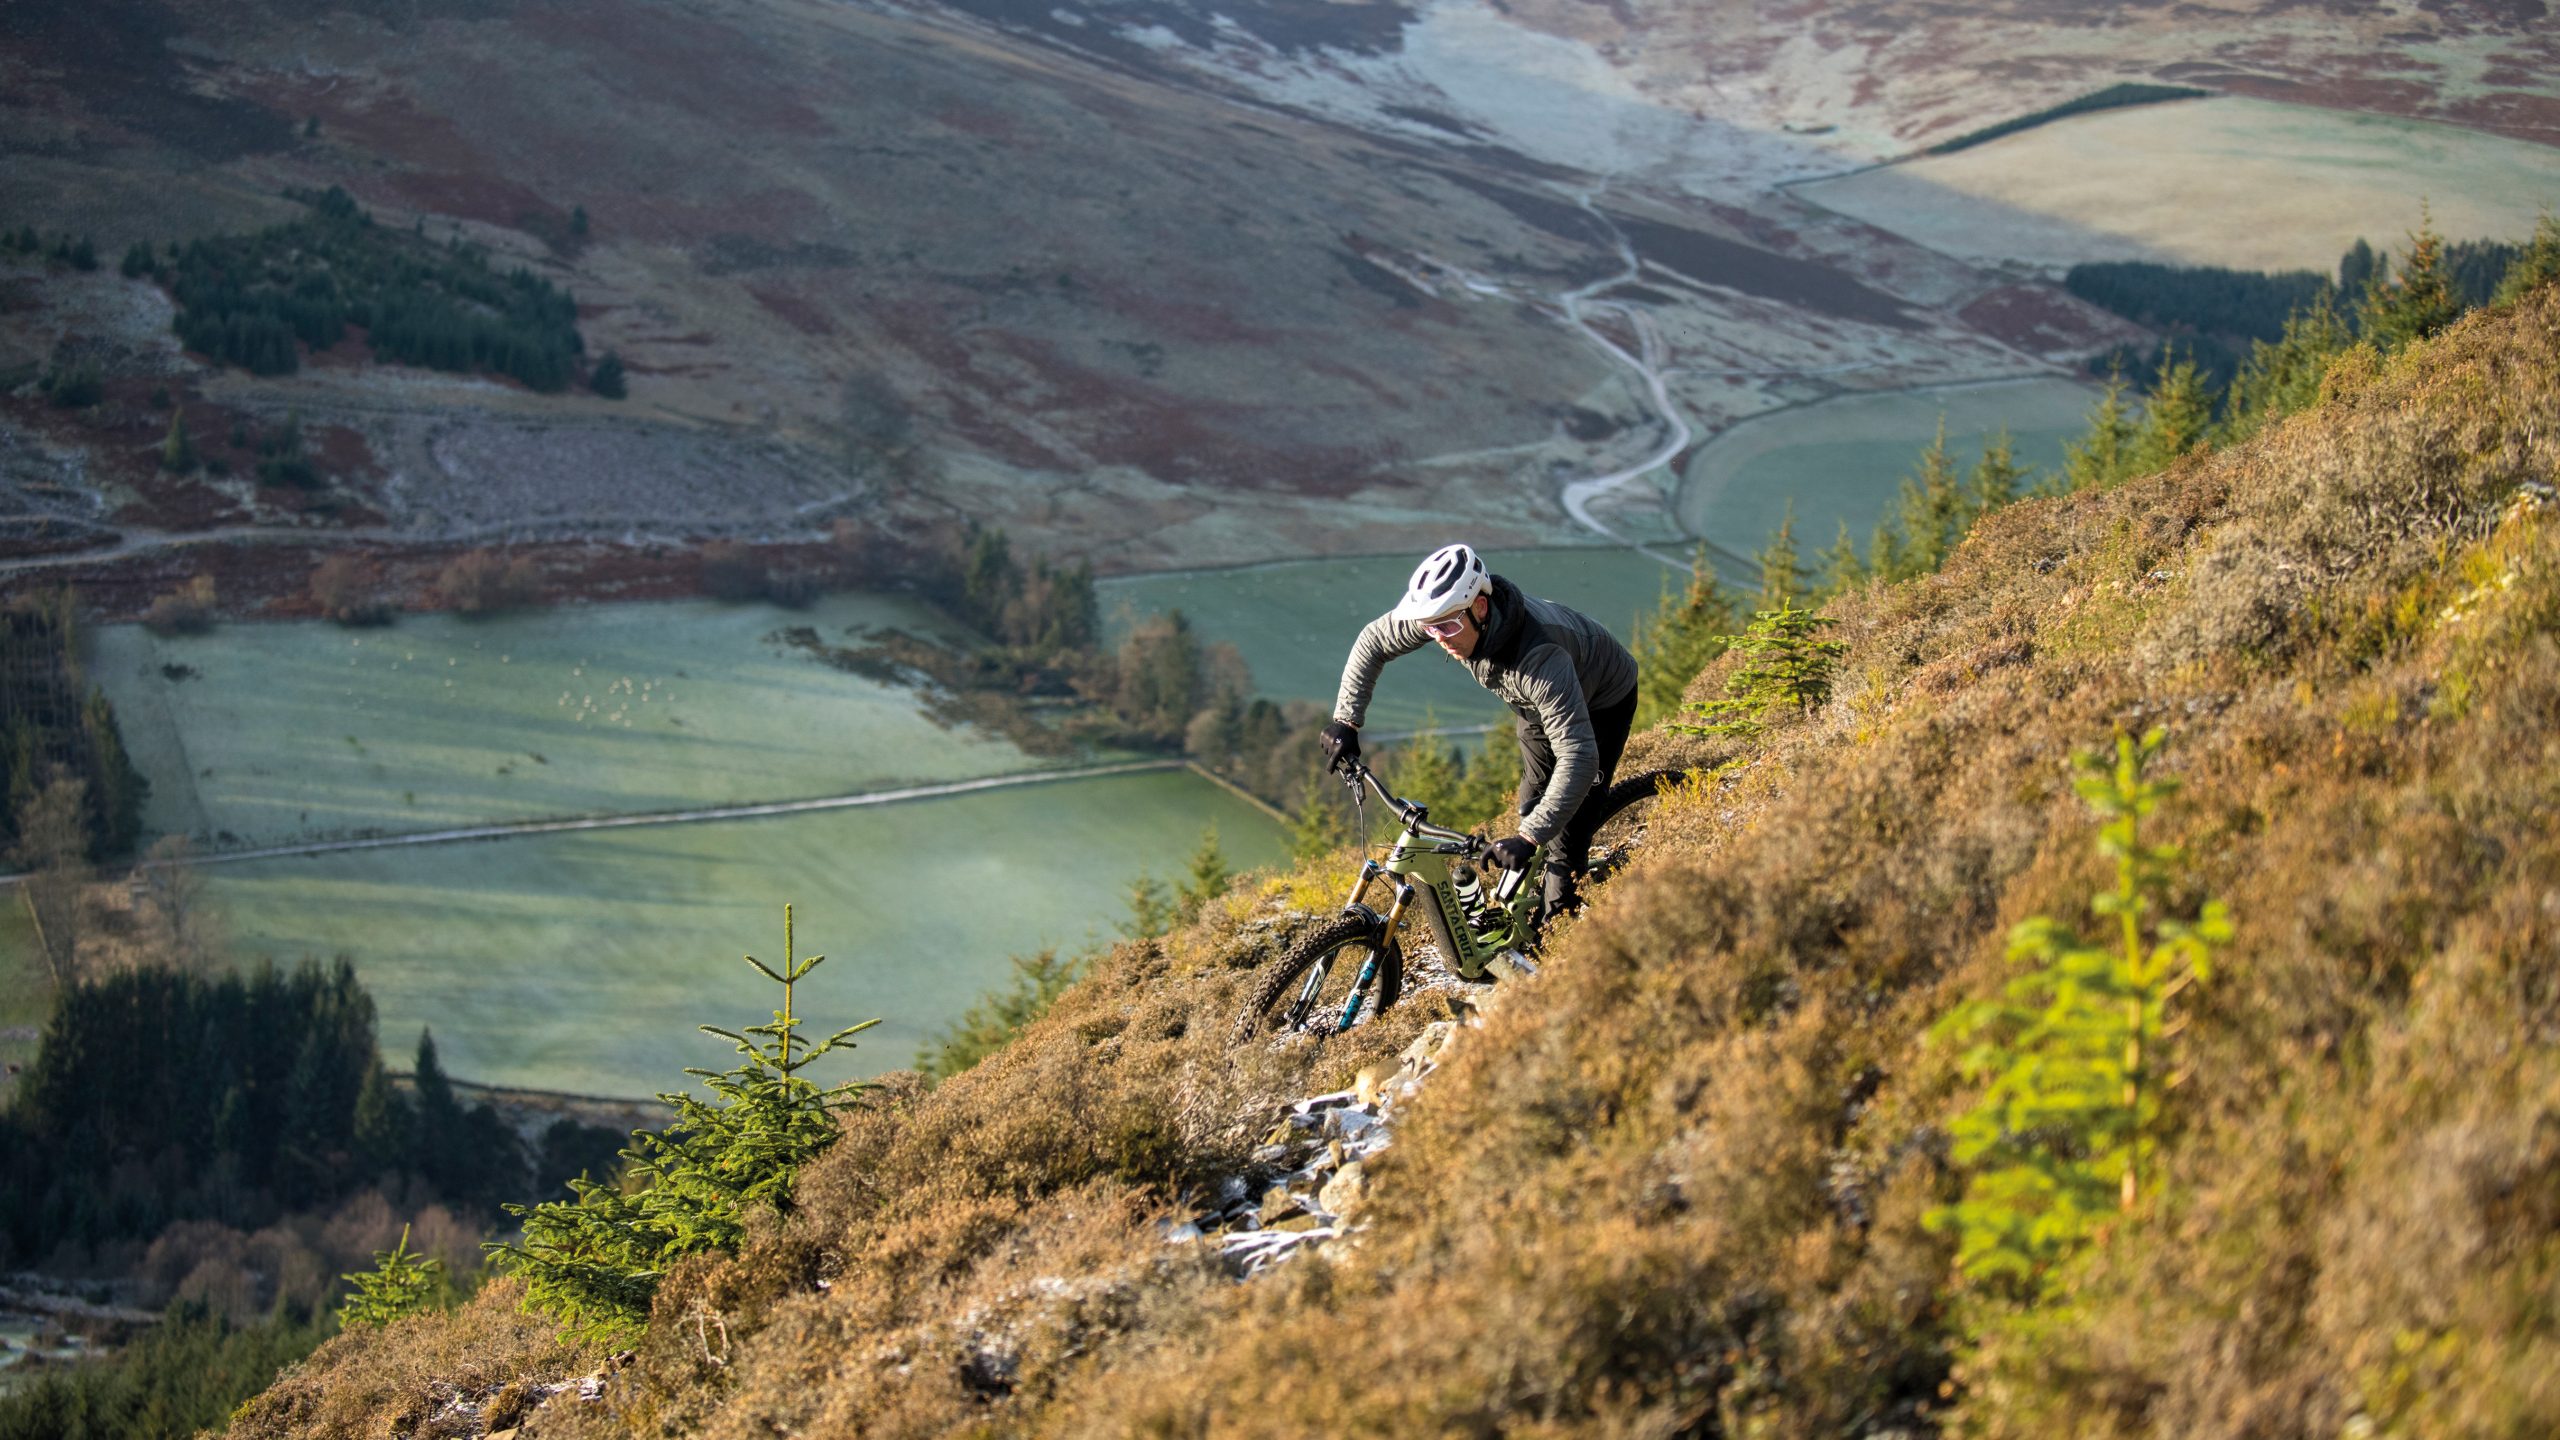
E-bikes weigh more, there’s no denying it. But if you know what to do with that extra weight, if you can learn to push it around and not the other way around then there’s actually some advantages in riding a heavier bike. More weight means more grip, while the better ratio of sprung to un-sprung mass makes the suspension work better too. The additional weight is mostly all down low at the bottom bracket too, so it will aid you in corners by driving more momentum into the trail, and help keep the bike calm by resisting the seesaw from front to rear over choppy terrain.
Move any mountain (bike)

Active (L) and Passive (R)
What makes the biggest difference to how much control you have? It’s all about your range of motion, and that applies to regular bikes as well as eebs. You are constantly switching between passive and active, and it pays to know those starting points well.
Passive – Standing up straight with your knees pretty much locked out, your heels down, and a good hinge at your hips so that your upper body from bum to head, is spread out over the length of the bike. On full extension with your legs, your arms should still be bent. This will be difficult at first, because as you drop into the more ready position of being closer to your bike to set up an incoming push, you will be tempted to straighten not only your legs but your arms as well. Instead try and extend back into your more powerful straight leg but remain in that stable, elbows out/legs straight/heels down that you started off in.
Active – Exact same footprint on the trail, with your head over the bars and your hips over the saddle, but your arms and legs are bent meaning you are a lot closer to the bike. This means you have way more room to push heavy into features that you can trust further down. Using this range of motion isn’t about taking weight off the trail, it’s about setting up a powerful push with your legs further down. Riding this way will capitalise on all the additional weight and make it work for you, not against you.
Push for grip
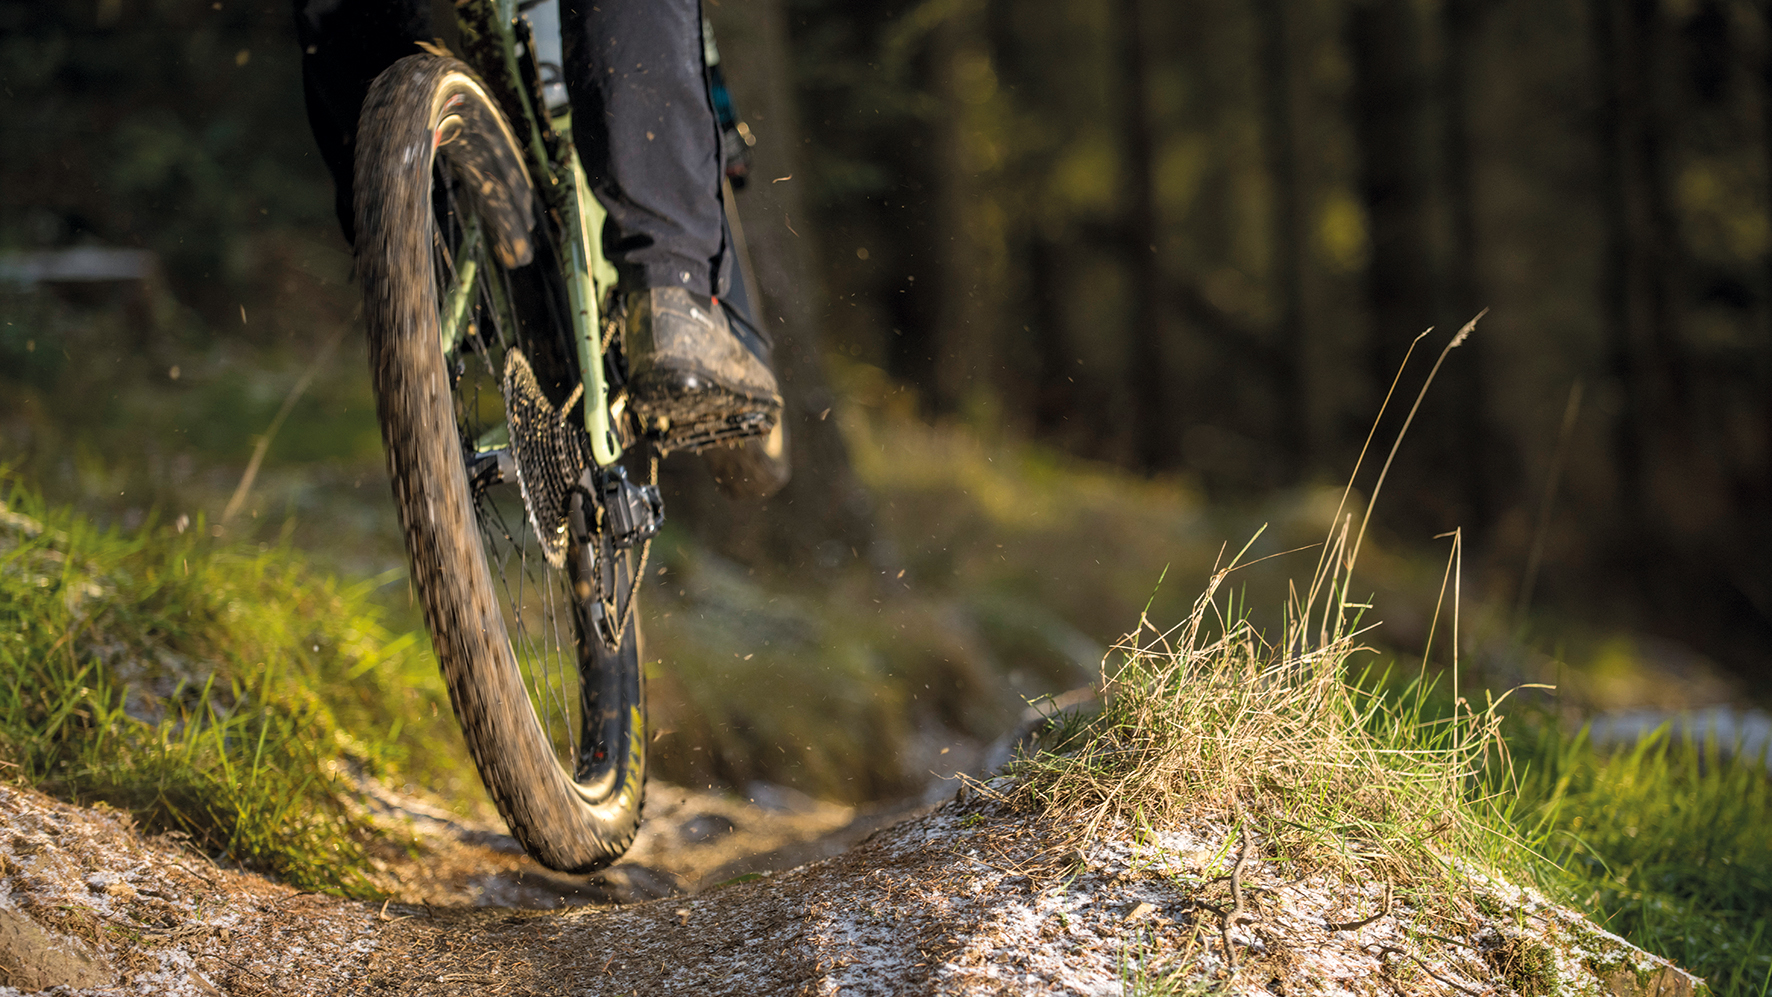
The best riders are able to generate extra grip on bits of the trail by intentionally generating weight against it. The trick is, recognising places on the trail where you can trust the traction, but when you get it right it’s a brilliant way of changing how you look at or read a trail. Once you trust this process, your whole perception of a trail evolves – instead of seeing nasty obstacles you’re trying to avoid, you’ll deliberately seek out places where you will have control. Riding e-bikes is no different. In fact the additional weight of the bike will once again help you create that heavy drive against the ground right where you need it.
Heavy metal

Being conscious of where to go heavy and where to float and go light on technical trails is a game-changer. To get the most out of it, come in low on the approach to something slippery or rough, and drive your weight into the trail with your legs while it’s still smooth.
If you focus on propelling yourself away from the trail with your legs, it will mean that you hardly notice the weight of an e-bike. The light, floaty feeling that you use to avoid roots or a wet off camber will be a natural consequence of pushing away where it was still relatively predictable. You can return to the ground on the other side where it’s smooth again and your weight will make another solid connection.
Aim for the exit

This one’s all about keeping your upper body connected with the front of your bike. This deliberate, strong presence goes well with dropping your heels, and planting the majority of your weight through the pedals. E-bikes are great bikes to commit this stance to as the additional weight will be right between your feet helping you commit to a stable platform.
With this in mind, every time you see a change of direction coming up on the trail, focus on maintaining that deliberate connection with the front end. As you start to commit to the turn let it dictate where your hips and knees face. The turn itself will be the place where you extend your legs and generate weight through the pedals. You essentially want your hips lined up with the exit so that as you press into the trail you are already facing the way you need to be to complete the turn.
Hips don’t lie
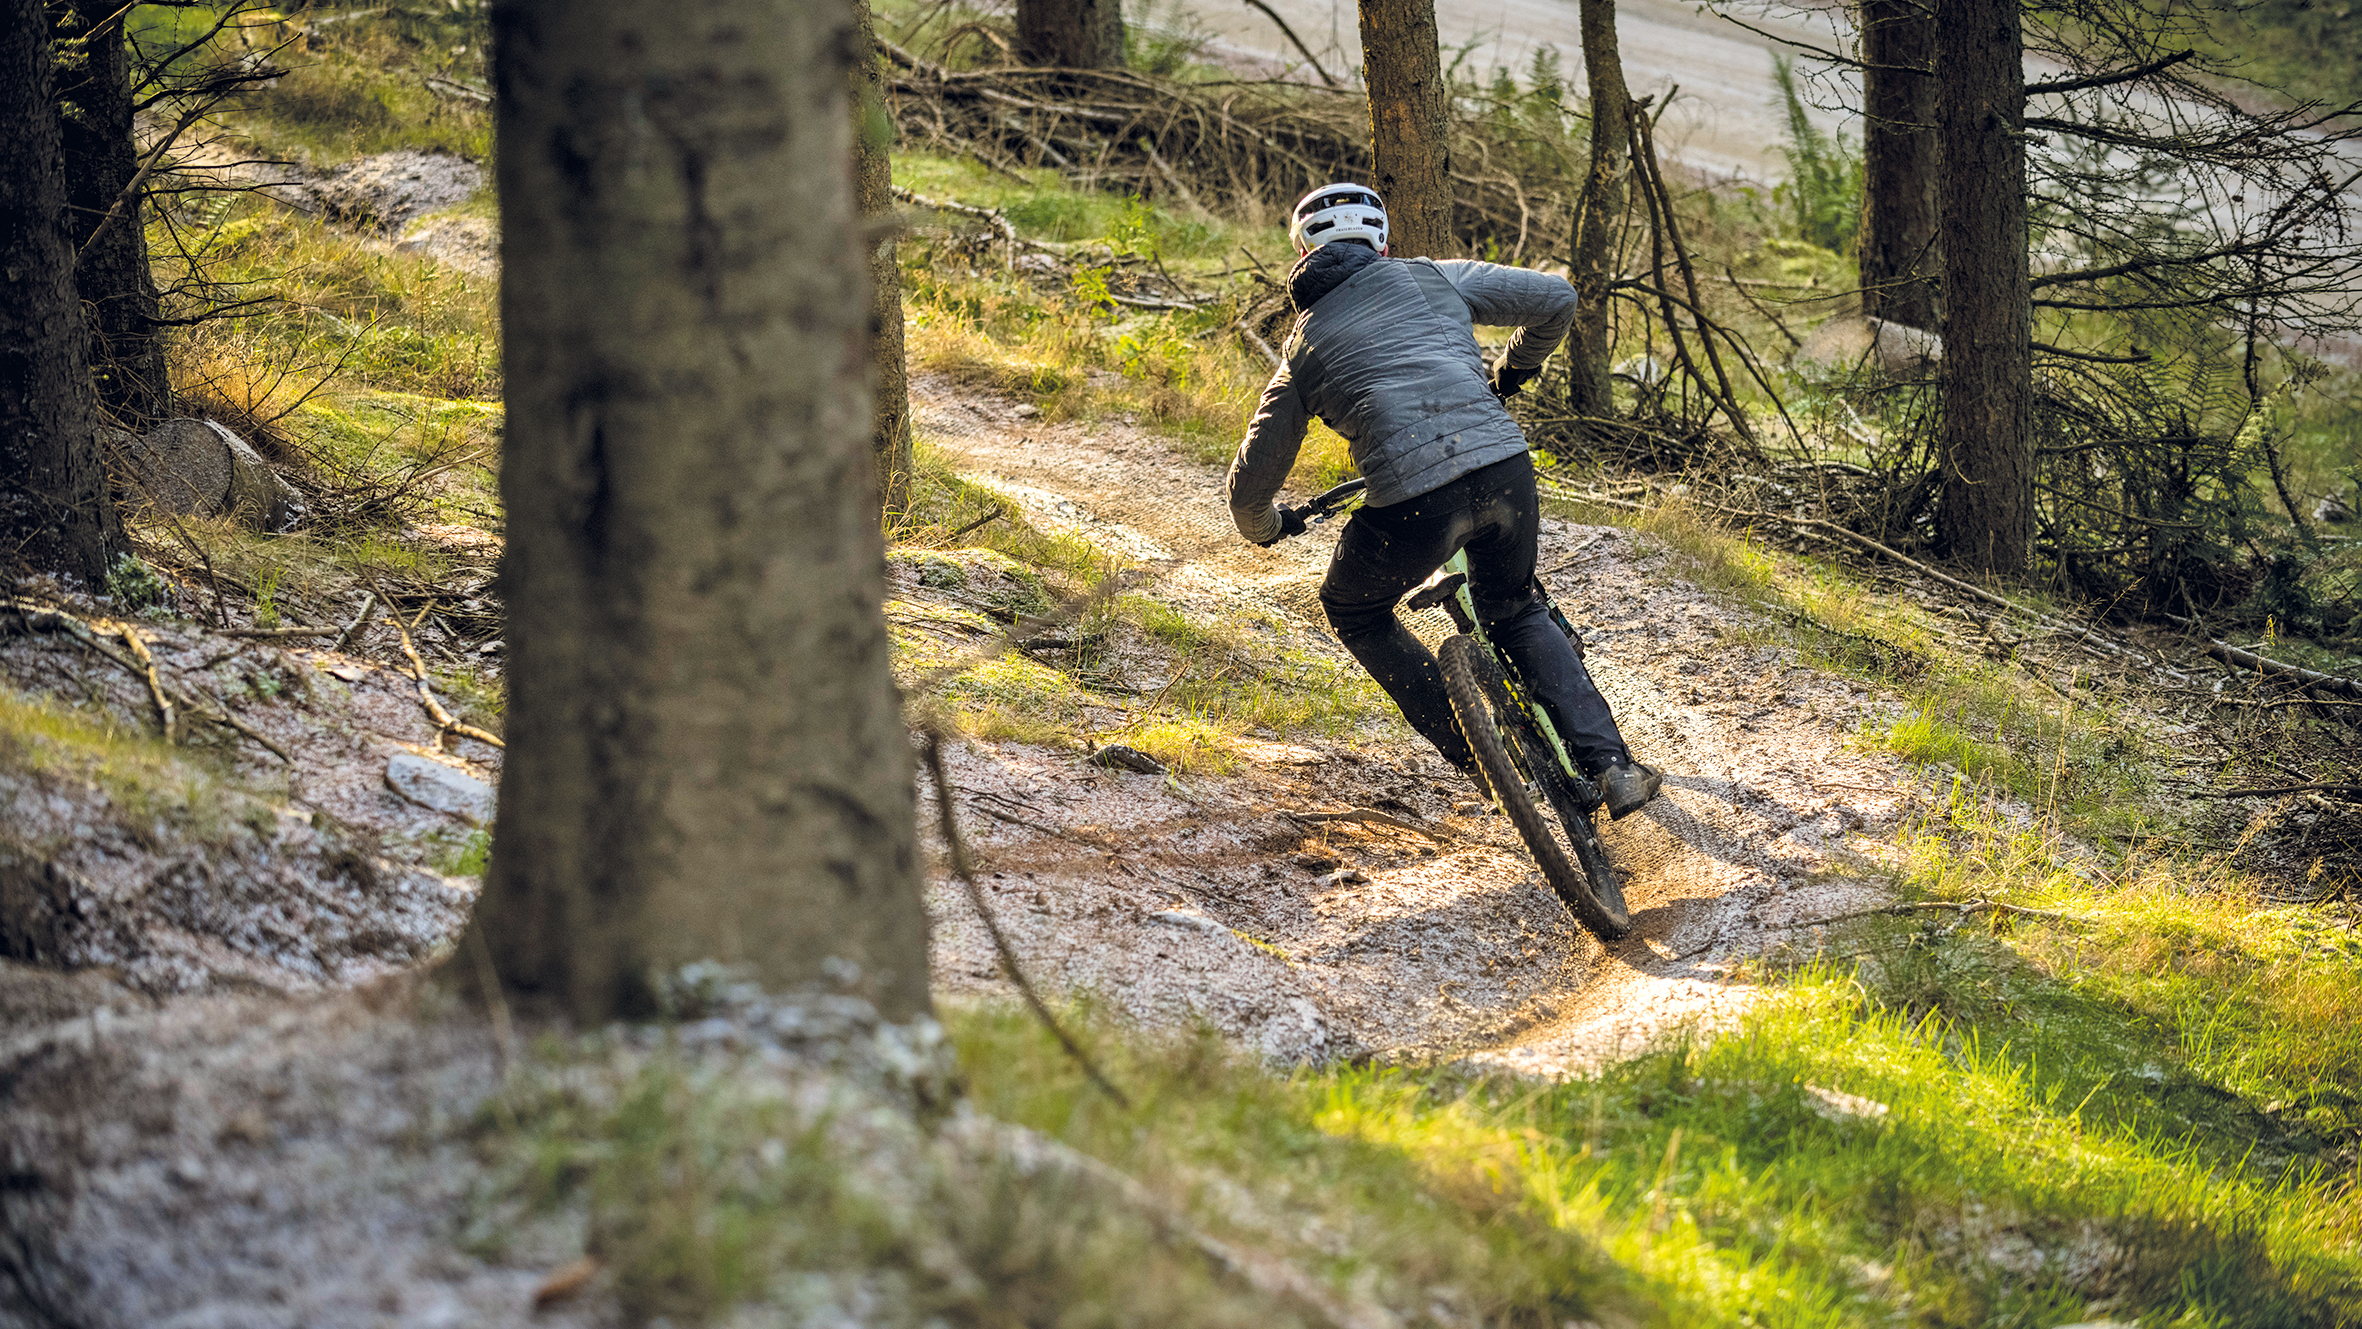
You want your hips to point towards the exit then, but it’s better to think about it from another perspective. Focus on staying connected with the front of your bike. When good riders talk about leaning their bikes in corners, dropping their outside foot, or using their hips or knees to balance, they are doing all of these things in addition to having a stable upper body. If you try to lean your bike or exaggerate your knees without that strong connection to the front end already, you will feel disconnected, wobbly, and ultimately more unstable. Stay strong up top and the rest of your body will follow.
This stability means that you can even use your knees to counter minor imbalances or facilitate a lean as you set up your change of direction. As you bend your knees on approach to a corner, hang your inside knee out a tiny bit more than your outside and your hips will follow naturally.
Braking Zones

You’ve seen how all the weight of an e-bike can work in your favour, but there’s one place it really doesn’t – slowing down. With all that weight accelerating you downhill, it’s bound to catch up with you sooner or later. If you time your braking the same as you normally would on a lighter trail bike, then you’ll find that you are constantly overshooting your braking zones and dragging them in corners. Instead, pull the brakes a little earlier and try to extend your braking zone further out, so that you arrive composed and off the brakes for the incoming feature or turn.
The way to justify this is to see it as breaking even. After all, you’ve got to that next section quicker than you normally would because of the better acceleration, so pulling your brakes a little earlier to extend your braking zone will mean you are back to where you started time wise. Being so patient on the descents will feel strange at first, but will give you a much smoother experience and keep you fresh for longer.
Spin class
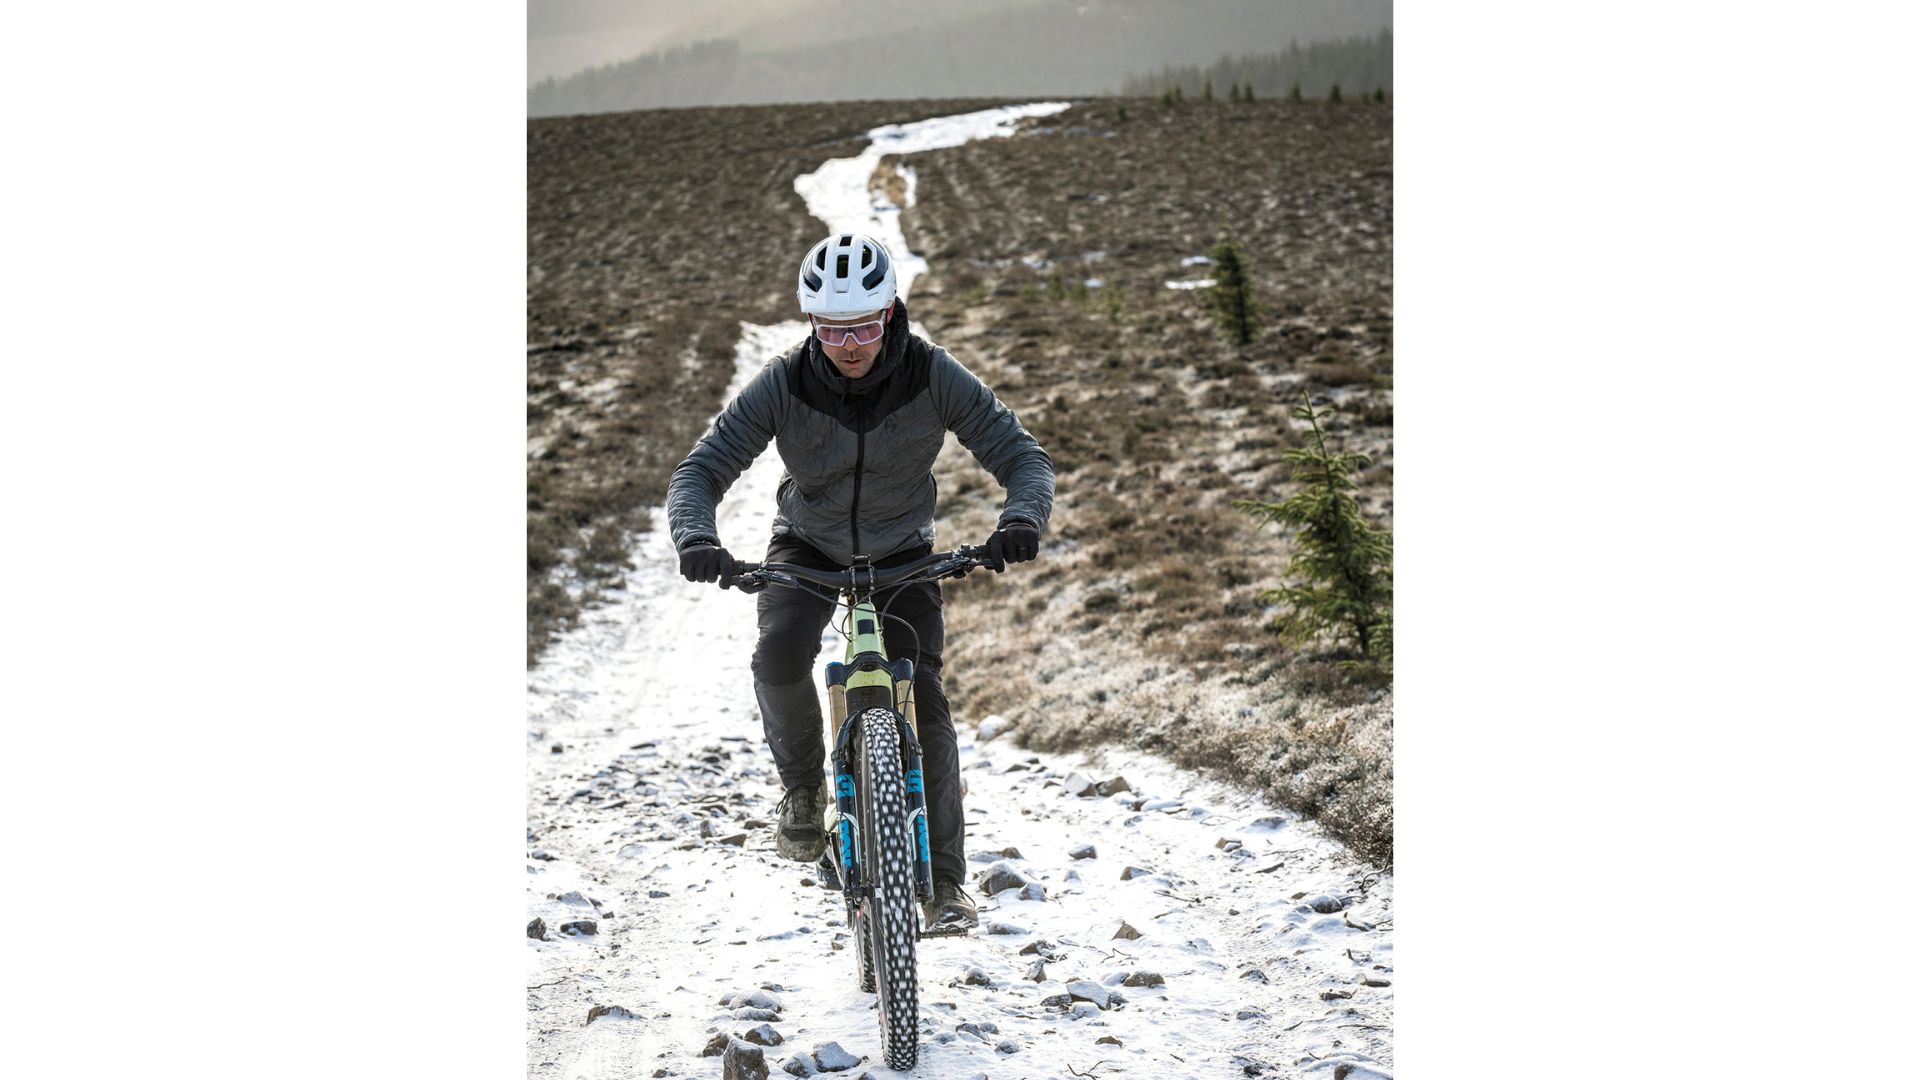
Sometimes on an e-bike you’ll need to spin slower than you normally would. If your feet are constantly spinning round then you’re way more likely to mistime a pedal stroke and make contact with the ground.
Slow down your pedal strokes slightly and you can rely on the assistance from the motor to carry your momentum in a way that will become more predictable and easier to correct if you do need to suddenly move your body to balance. That said, don’t let the revs drop too low or the motor could well stop offering assistance, depending on the motor and how you’ve set it up.
Gear Shifts
Any bike, any drivetrain, you need to come off the power slightly when you shift. This temporary reduction in power allows the chain to travel over into the next gear with more precision, and means that your drive chain will last longer. With an e-bike using a motor to deliver more power, it’s even more important as you’ll be putting so much torque through the chain that you’ll do damage if you’re not careful.
Practise the timing of this before you’re on a steep climb, as the motor lag will mean you need to relearn when it’s safe to shift. Get it right though and your drive chain will last longer and your gear shifts will be silent.
Ratcheting

A lot of the time on technical trails you are so active that it’s often a good idea to take tiny moments to yourself as you descend. These little micro-rests might just be enough to take the pressure off your muscles allowing you to stand on straight legs and flush out some of the damage before getting low and becoming involved again.
On an e-bike, you can still do this, but you might want to give your pedals a kick first. This brief engagement with the cranks will be enough to turn your motor on for a second and mean you can still take a rest – only faster.
Politeness
It’s fair to say that e-bikers have a bit of a reputation for blasting past regular riders on climbs. If you are overtaking someone on the way up then be aware that they might not be expecting you to whizz by them so quickly. It might be tempting to just smash it all the way up to the top for another run, but slowing down to say “excuse me” or “thank you” to other trail users will mean that you come across as friendly and considerate.
The same courtesy that you’d expect from them under different circumstances. After all, we’re just out enjoying the hills in our own way, and nobody wants the stress of modern living to suddenly catch up with them when they are trying to escape.
How to Session Trails
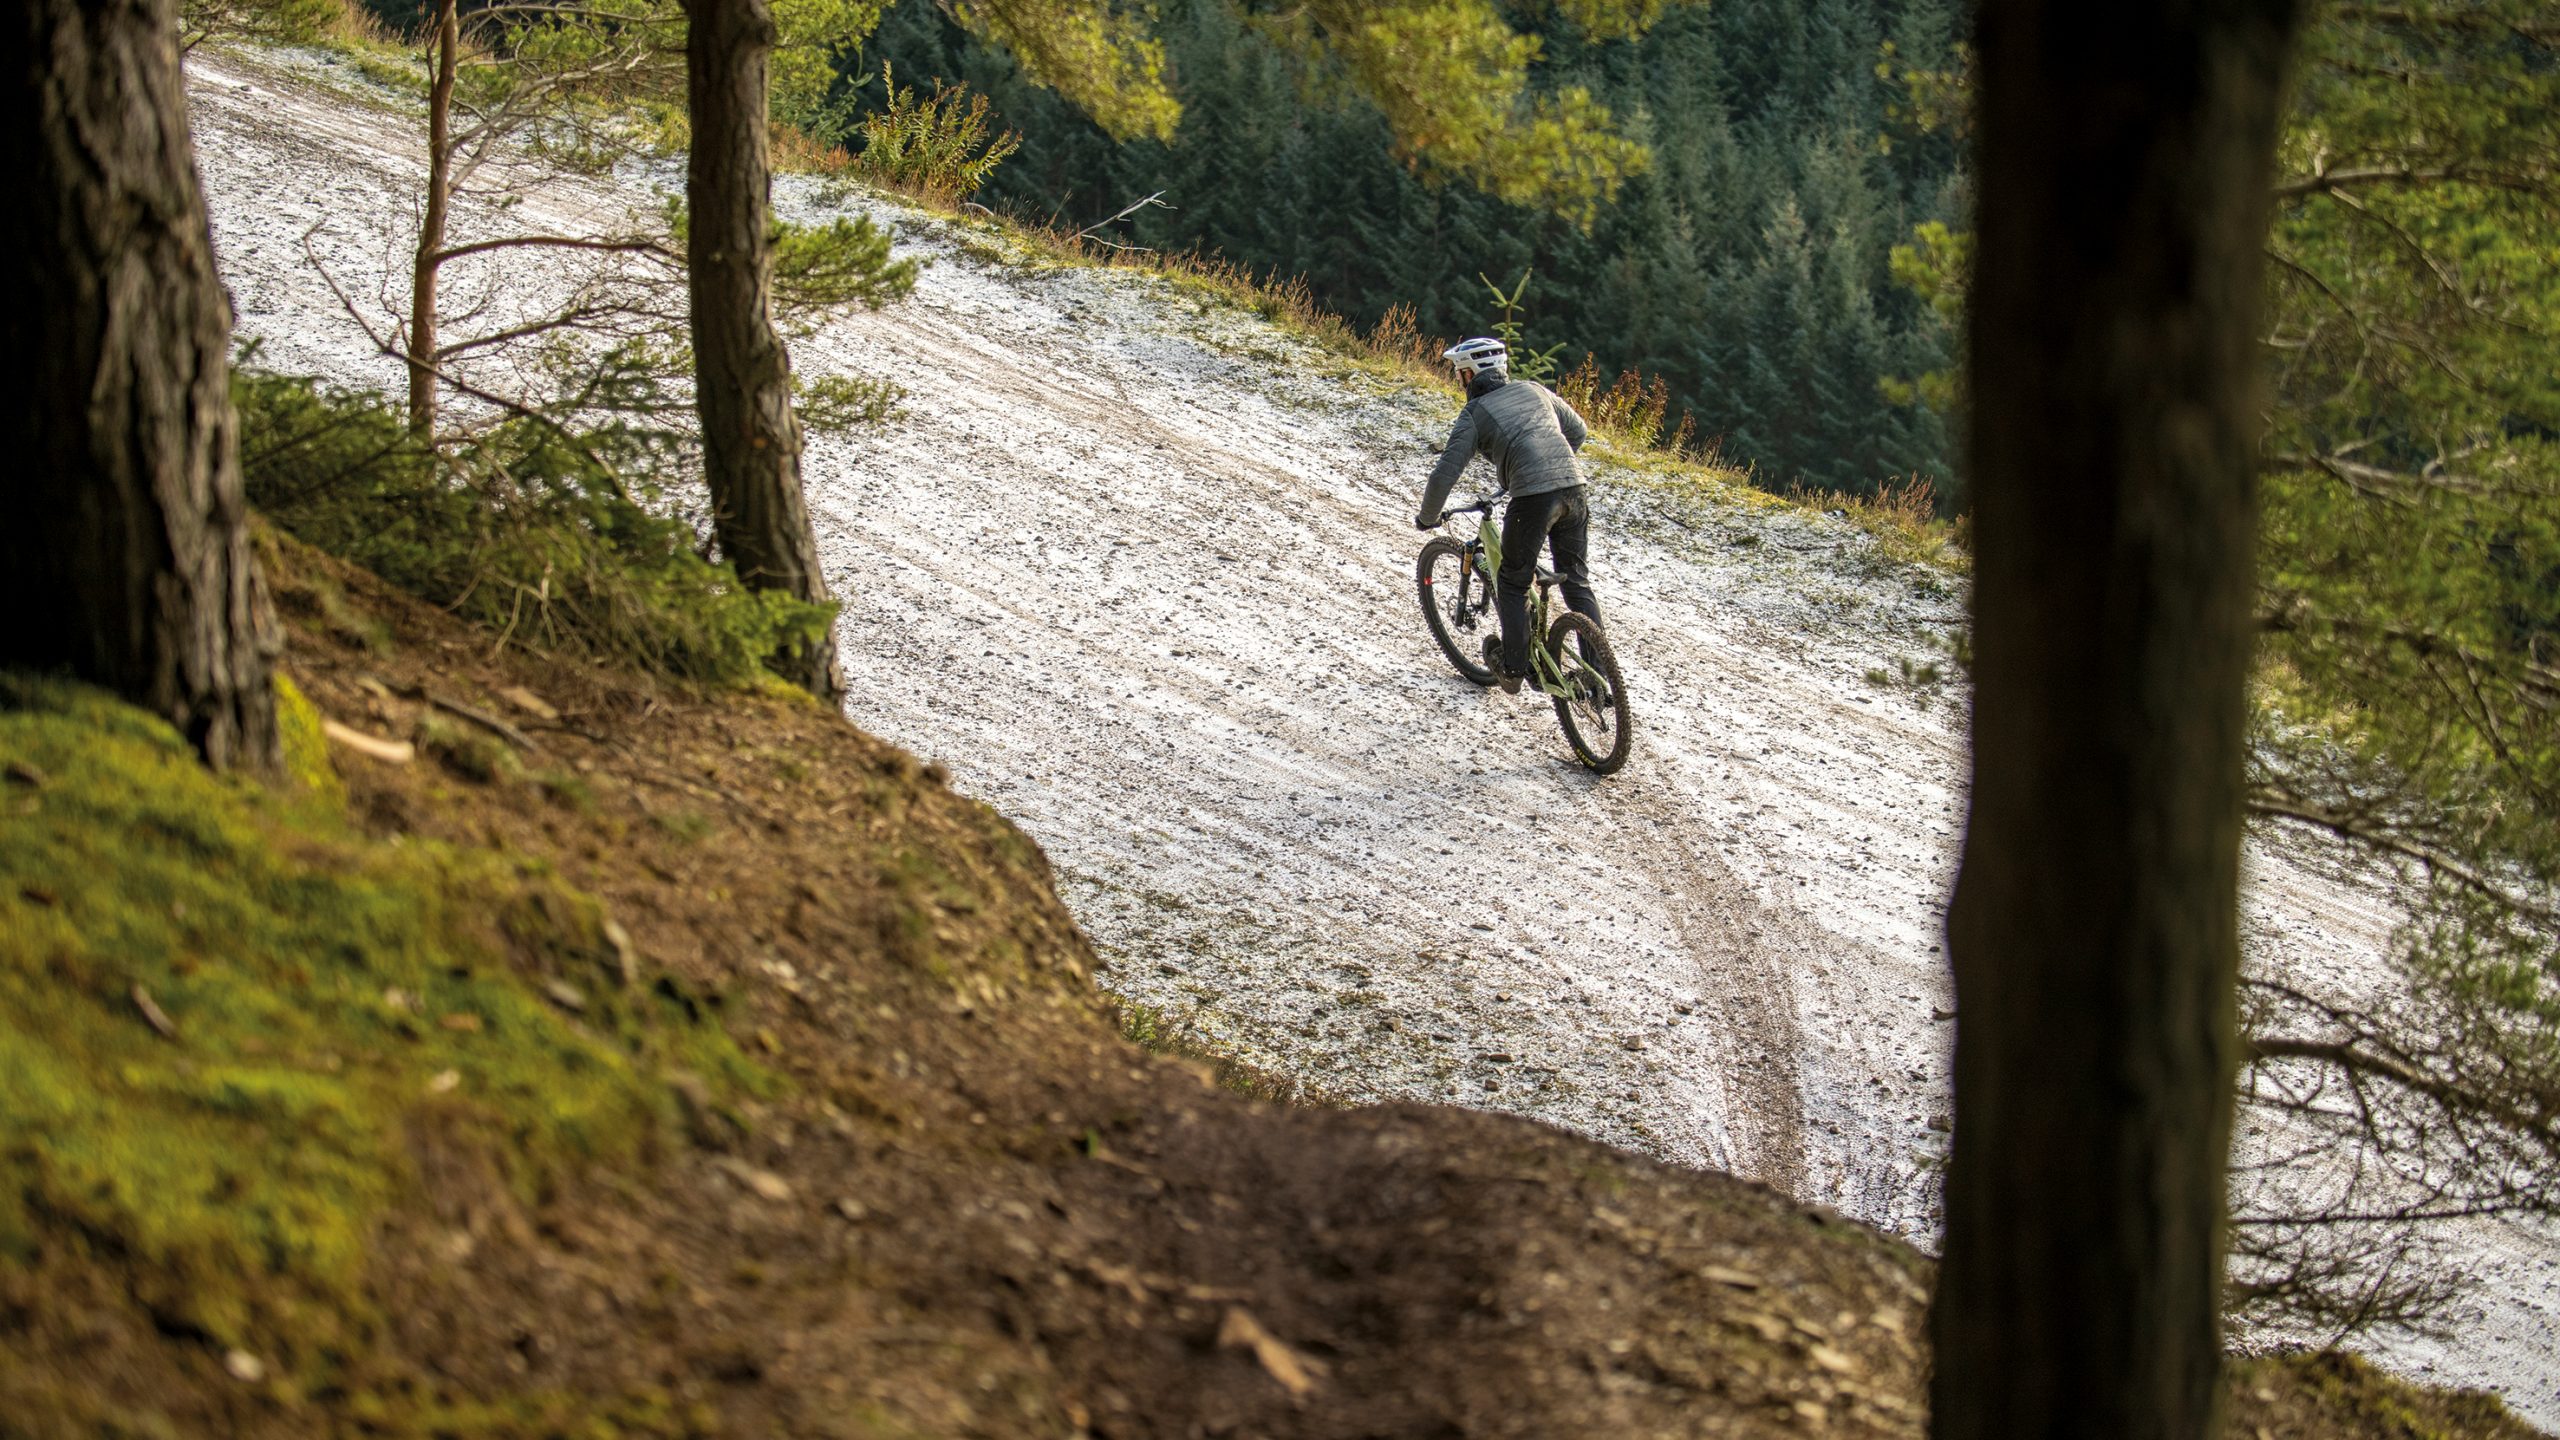
When we write these articles we normally encourage our readers to get off their bikes and head back up for another shot. Sessioning a difficult section like this will allow you to make better progress by ironing out any mistakes noticed on your previous attempt. However, this is another part of your riding where the weight of the bike will work against you as you won’t want to push up more than once or twice.
When we run our e-bike courses at Dirt School we tend to have a couple of runs at a section, then move on to look at something else. We might only do this twice before exiting and heading back up for another run of the same trail. We can then ride through the sections that we looked at the first time, and perhaps stop to look at something else further down. We find that we normally still have time to head back up for a third, and often a full run, of the track and still finish at the same time as we would have with the one run on a normal coaching session.
It’s a different way to session trails, but as long as you are clear about what you are trying to achieve on your final full run, you can still make just as much progress.
Did you know it’s perfectly possible to boost your fitness on an e-bike? In fact, we’ve got 5 ways you can boost your fitness on an eMTB without even really trying. You’ll need an ebike of course, and if you’re looking for the best electric mountain bike for your budget and riding needs, our expert testers have ridden and rated a whole load.


